Overview
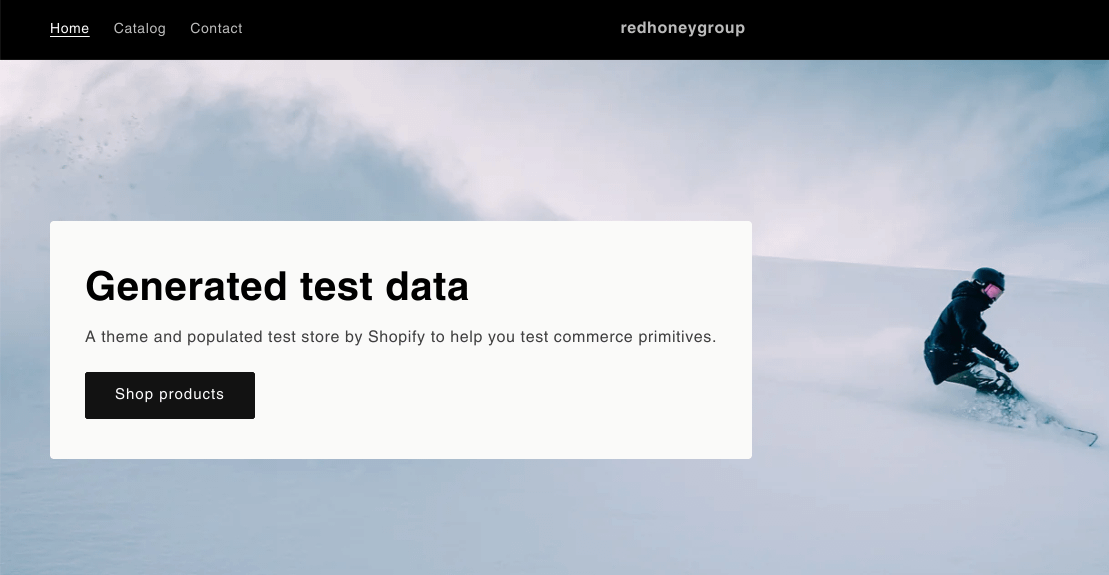
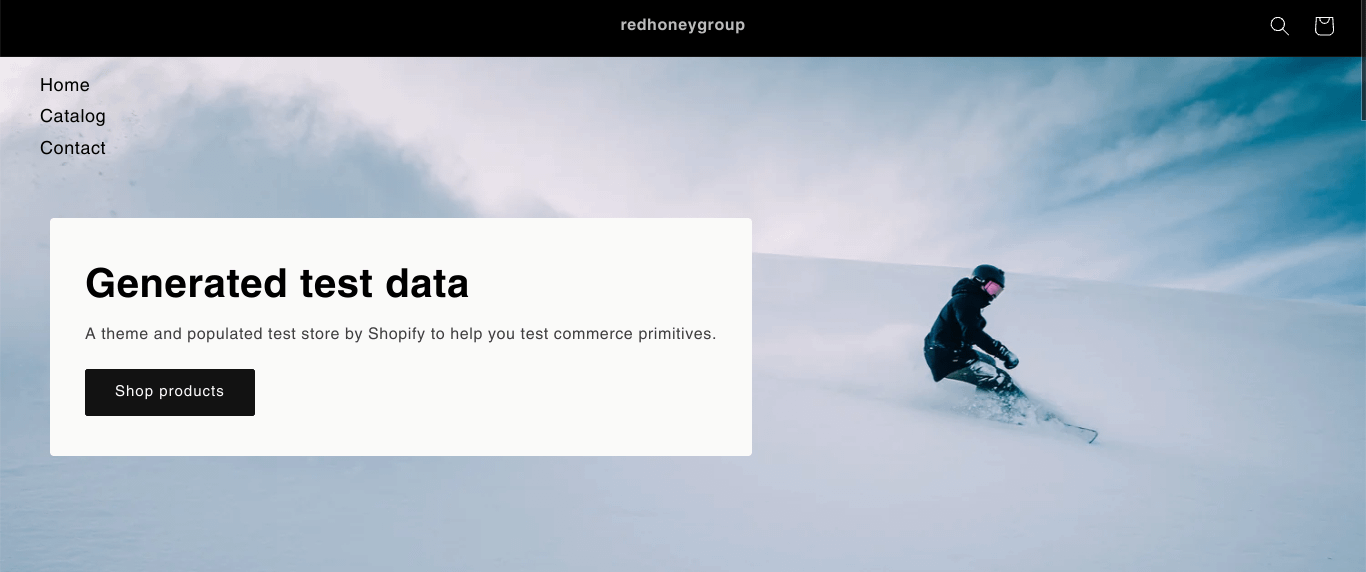
This tutorial is to add a working vertical header in Shopify dawn theme.
A lot of our clients, mostly in the fashion and lifestyle category have requested a vertical menu on their store for some we buy themes which give options to easily add it on the site, but some do not wish to purchase a paid theme just for a single feature.
This is a work around to edit the free Shopify dawn theme and create a similar vertical menu below the logo (refer image below).
We will need to add a bit of CSS & JS code to the code editor, if you are not comfortable with it do not try on a production site.


Step 1: Select the Drawer Menu in Header
Starting from your Shopify dashboard, click the online store on the left side panel and then click on customize button on the right side below the theme preview. This will navigate to the store customizer.
Here on the left side panel click on the header tab and select Drawer under desktop menu type. This will convert the default drop-down menu to a drawer menu and the save changes. After this use the three dots above the left side panel and click on edit code. The code editor will open a separate tab.
Step 2: Editing the CSS file:
At the code editor, search for a file called component-menu-drawer.css under the assets folder. Navigate to the end of file and copy paste the below code. You can modify the colors, padding and size as per your preference and save the same.
This is the CSS to style the menu drawer look, feel free to edit it further as per frontend.
/** Redhoney Customized Vertical Header **/
@media screen and (min-width: 750px) {
  .menu-drawer {
    width: 20rem;
    background-color: transparent;
  }
  .menu-drawer__navigation {
    padding: 1.5rem 0;
  }
  .menu-drawer__menu-item {
    padding: .3rem 3rem .3rem 4rem;
    color: #00000;
  }
  .menu-drawer__menu-item:hover {
    color: #000000;
}
  .menu-drawer__menu-item,
  .menu-drawer__menu-item:active,
  .menu-drawer__menu-item:focus,
  .menu-drawer__close-button:focus,
  .menu-drawer__menu-item:hover {
      background-color: transparent;
  }
  .header__icon--menu {
    display: none;
  }
Step 3: Adding JQuery
Now create a new file, by clicking on +Add a new asset and selecting a blank file, under the assets folder called jquery.min.js . You can get the JQuery code by visiting https://jquery.com/download/ and copy the code in the new jquery.min.js file and save the same.
Alternately, you can connect the JQuery CDN to the store and skip the file creation of the same.
Step 4: Creating custom JS
Add another blank file to the assets folder called custom.js and copy and save the below code to open the menu on desktop.
if ($(window).width() > 750) {
  $('.menu-drawer-container').addClass("menu-opening").attr("open", true);
  $('.header__icon--menu').attr("aria-expanded","true");
}
Step 5: Adding the JS files to the site:
Now search for the theme.liquid file in your code editor and open the same. Navigate to the end of the file and add the below code above the closing body tag in the file. This will add the JS functionality to the live site. Save and you’re done.
<script src="{{ 'jquery.min.js' | asset_url }}" defer="defer"></script>
<script src="{{ 'custom.js' | asset_url }}" defer="defer"></script>
Conclusion
You can choose the colors as per your choice by editing the CSS file. Adjust the page width to position the page content adjacent to the menu. I think the JS code can be improved so that the menu is open by default on desktop. But I did not get time to work on it more. Will update the code a bit if I go through the documentation and figure it out.
If you have any suggestions for improving this do feel free to share. Ciao

Want to Build your own Shopify Store
Our Shopify experts can help you build and customize your storefront. Get your visitors to convert with modern features and a smooth UI/UX experience.


Leave a Reply